

To support you in your wallpapering project, we have compiled a list of tips and tricks that will help you in your DIY renovation. We have included some additional top tips throughout from our colour and product expert, Geraldine Devaney, that will help you approach your project with confidence.
Choosing your wallpaper
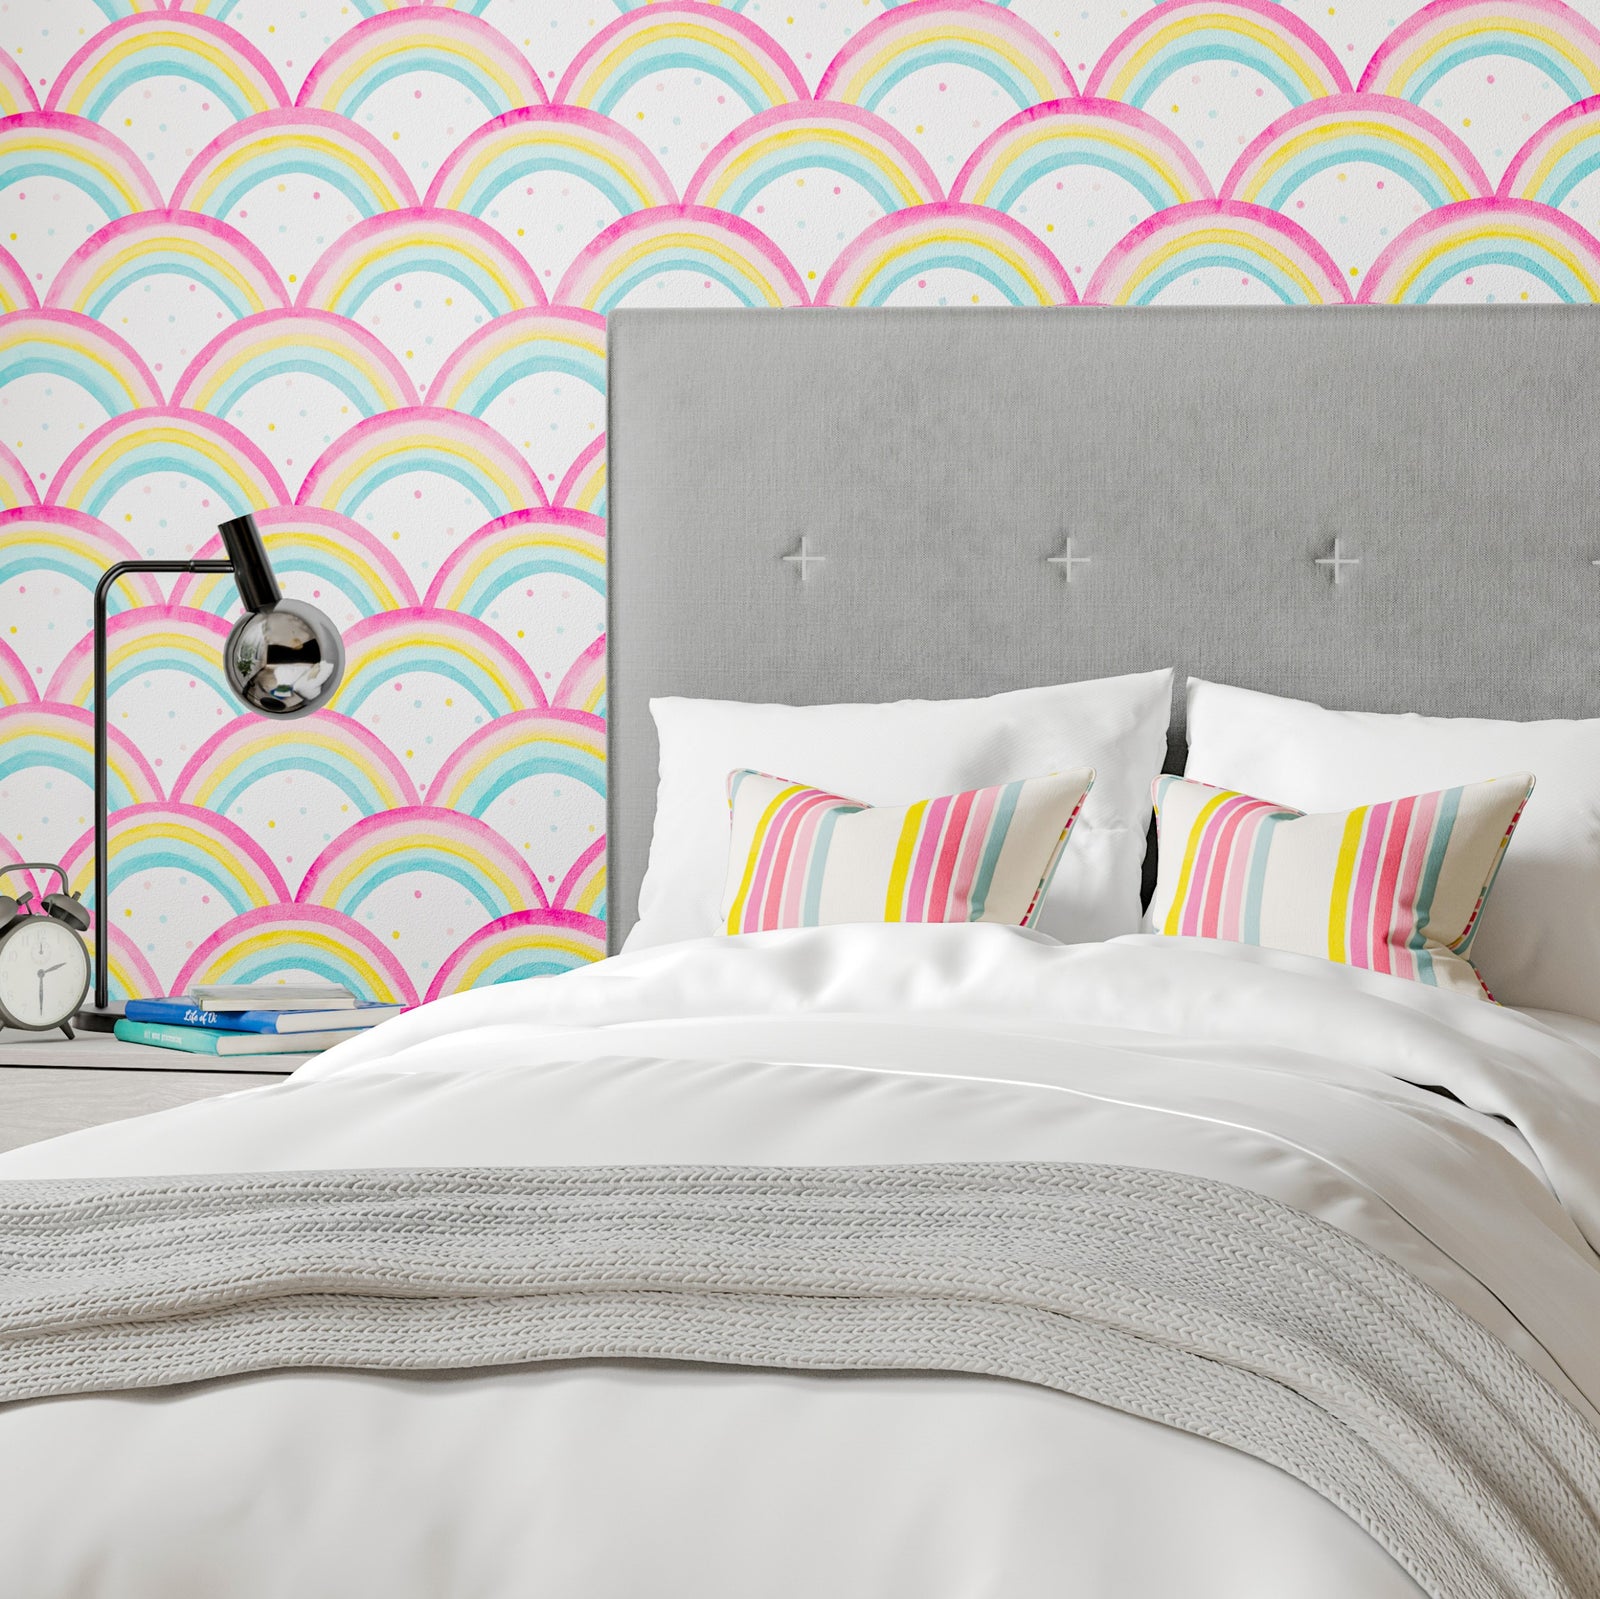
The below tips and tricks will guide you in the process of installing your wallpaper. However, before this, comes the all-important task of choosing the right paper for your room. It is important to remember that wallpaper is not just intended for large rooms, wallpaper can completely transform the look of smaller rooms too. Before purchasing your wallpaper rolls, try out a variety of samples to ensure you are completely satisfied in your final wallpaper choice.
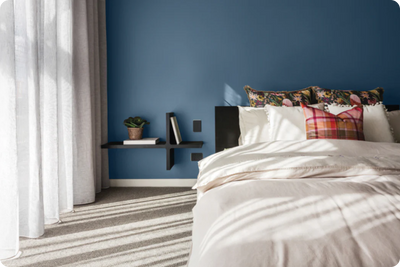
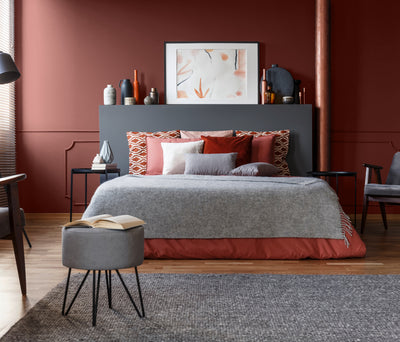
Take inspiration for your wallpaper from the colour scheme in your room and consider how your wallpaper will sit with the permanent features of your room. Wallpaper has the power to make your space appear bigger, warmer, brighter, or vice versa. If you would like to make your space appear lighter or brighter, opt for a wallpaper that will reflect the light around the room, a pattern with light colours or a slight sheen will help to achieve this. Vertical or horizontal stripes can also assist here to give the illusion of a taller ceiling or an elongated wall space.
When choosing a pattern, consider how the room is used and how you would like the room to feel. Your pattern choice will contribute to the mood created in your space. For example, if you would like to create a calm and restful environment, steer away from bold coloured, extravagant patterns. On the contrary, if you would like to create an energetic, fun space, turn to energetic colours and vibrant patterns. Choosing large-scale patterns with a dramatic colour scheme will help you achieve a sophisticated, traditional look, whereas choosing a paper with small, evenly spaced motifs such as polka dots will give a more playful, contemporary look to your space.
Geraldine’s top tip: When purchasing multiple rolls of paper, check each roll’s batch number to ensure that all rolls have originated from the same batch. This will account for any discrepancies in the pattern or colours of different batches.
Estimating the amount of wallpaper required
To estimate the amount of wallpaper that you will require for your project, it is important to accurately measure the surface area of your walls. After finding the total surface area of your walls, you can discount the area covered by windows and doors. Follow these four steps below to estimate the amount of paper that you will require. All measurements should be taken in metres (m).
- Find the total surface area of your walls:
Height of walls x Width of walls x 4 (or no. of walls)
- Find the total surface area of your windows:
Height of windows x Width of windows x No. of windows
- Find the total surface area of your doors:
Height of doors x Width of doors x No. of doors
- Final wall surface area estimate:
Total surface area of walls - Total surface area of doors – Total surface area of windows= Estimated surface area of your walls (m2)
Geraldine’s top tip: Allow for any mistakes, damages or obstacles you may encounter during your papering project by purchasing at least 10% extra (or one extra roll of paper).
Preparing your walls
It is important to ensure that your walls are smooth in advance of hanging your wallpaper. Begin by removing any hooks, nails etc. from your walls. This will leave holes in your wall that if left unfilled, may be visible as bumps on your wallpaper, you can use wall filler to fill in these holes. After the filler has dried, sand down the surface to ensure the wall and filled areas blend smoothly.
Geraldine’s top tip: Take time to ensure that you are happy with the smoothness of your wall. A smooth wall will ensure that your wallpaper adheres well and will help to prevent any future issues with lifting over time.
After ensuring your wall is completely smooth, you can clean down your wall with a damp cloth to remove any residue and dust particles from sanding. Ensure that you leave your wall to dry for a couple of hours before moving on to the next step.
Before applying your wallpaper paste, it is good practice to prime your wall. Applying a primer, such as our Prime 4, is essential when papering over bare plaster or when papering over a high-sheen paint finish like Colourtrend Soft Sheen. However, if your wall has already been painted with a matt finish, you may not require primer. Ask one our experts in store today for further advice on using a primer.
Geraldine’s top tip: Paint or prime your wall in a colour similar to your wallpaper. Wallpaper shrinkage is a common occurrence and can result in the wall beneath your paper becoming visible. Ensuring your wall colour is relatively similar to that of your paper will help disguise any seams or gaps in your paper.
Hanging your wallpaper

Before you start hanging your wallpaper, ensure your paper is hung straight by drawing a ‘plumb line’ to align your first piece of paper. You can do this by using a spirit level to mark a straight vertical line on the wall.
Geraldine’s top tip: Each wallpaper is unique with its own set of specifications and instructions. It is important that you carefully read the instructions on your wallpaper prior to beginning your DIY project. These instructions will contain important details such as the wallpaper’s shrinking abilities, recommended pastes and tools, and application guidance.
Step 1: Cut your first length of paper, apply your chosen wallpaper paste and allow the paper to soak for the time specified in the paste manufacturer’s instructions.
Step 2: Align your wallpaper against the ‘plumb line’. Using a wallpaper brush and working from the top of the wall downwards, brush out from the centre of the wallpaper to each edge. Make sure that you are happy that your paper is even and smooth.
Step 3: Make a crease in the paper where the wall meets the ceiling and cut along this crease. Brush the cut edge of your paper back onto the wall to reveal a straight line where the wall meets the ceiling.
Step 4: At the bottom of the wall, where the wall meets the floor or skirting, create another crease in the wallpaper here. Repeat the process outlined in step 3, of cutting your paper along the crease and brushing the paper back on to the wall.
Step 5: Gently wipe down the paper you have just applied with clean water to remove excess wallpaper paste from the surface.
Step 6: Cut your next piece of paper, considering how the pattern repeats, and repeat the above process. Make sure to line up the pattern at the edges of the new piece of paper against the previously hung piece and take care to follow the guidance in your wallpaper’s instructions.
We are here to support you in your DIY project. If you would like further advice on how to hang your wallpaper or which products to use, our team of in-store experts are here to help you. We are also here to help online via our live chat, email at hello@colourtrend.ie and social platforms @colourtrendpaints.